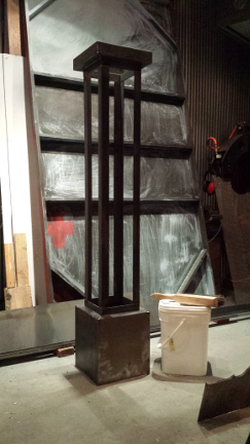
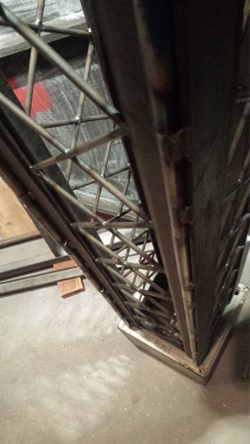
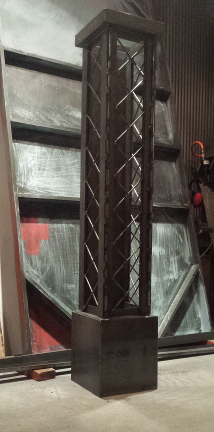
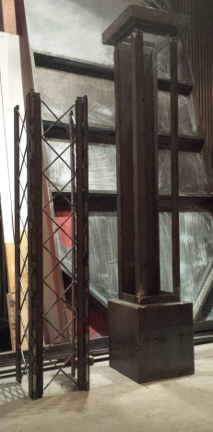
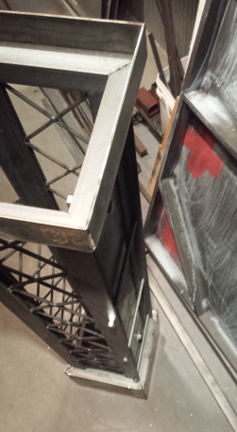
 The Staircase incorporates 10" x 10" columns of rough-cut lumber, the stringers are 10" JR C-channel, so to stray from the use of steel and wood....also to tie in the MONOlithic concrete bar we decided to fabricate a steel from to place the concrete. Here is the base the form itself. Part of the form strays from the standard form style. Here is a simple fixture for aligning the components for the X's which will embellish three sides of the stair post. In the background the two silver bolts are visible, these are threaded unions to become cast in place 1/2-13 female threaded inserts to tie in the railing. 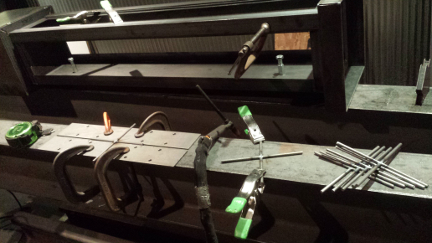 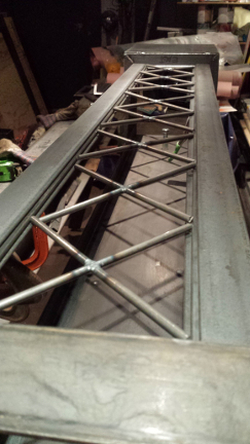 After both sides of the X's are welded they are trimmed as needed and added to the form. 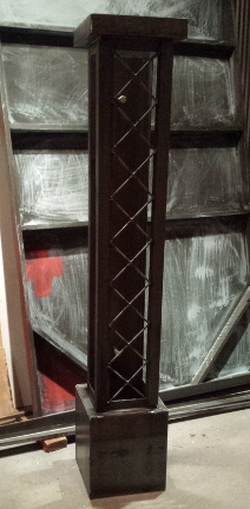 The first of three faces complete, there is much more to this form to follow, stay tuned. @ left is the stair post with the other two sides, @ right the hinged sides to aid in de-molding the form
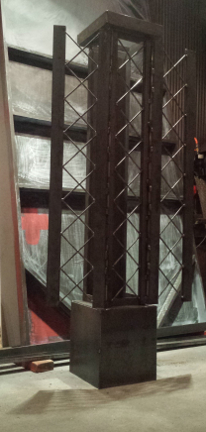
 looking down the hinge tubes seen both sides of the form front. Looking down the inside of the form, bolt @ right acts as threaded insert to be embedded in concrete post 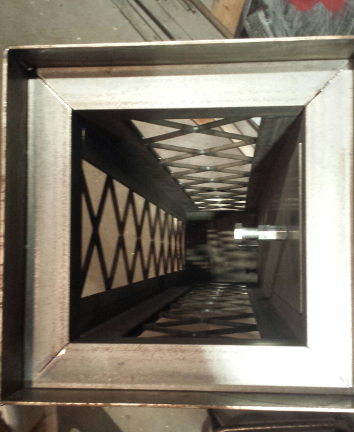 Form complete and ready for concrete 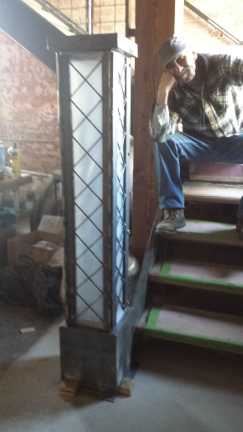 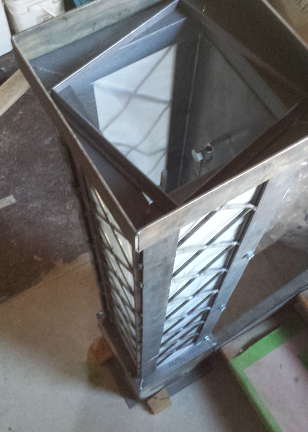 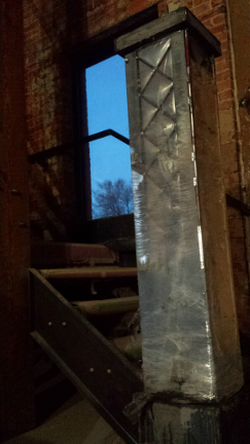 As the concrete was placed, stretch wrap (used to secure pallets) was added to hold the lower sections from expanding as the concrete head pressure increased. Concrete weighs approx 150# per cubic foot. In this case the from height is 5 ft: the pressure at the bottom of the form is 750 pounds per square foot. So 12 inches up the pressure on the diamond would be approximately 600 pounds per cubic foot. Dividing this by 144 to find pressure per cubic inch (600/144) 4.166 pounds. (the diamond is 3.75 x 3.75). The pressure at the bottom diamond approx (4.166 x 16) 66.65 pounds. The pressure at the top diamond is approx 16 pounds. The outer form has been removed in this image, the steel frame work of the inner form was later cut off in pieces. 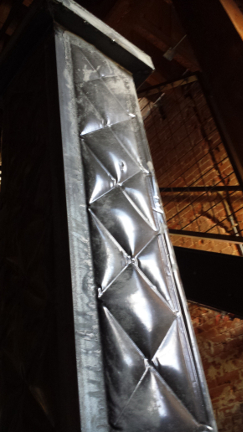
6 Comments
Main Floor bar of the N3 Taphouse incorporating western rib metal roofing, along with my favorite ....board forming. The design of the out side form, having a step at the bottom, was super unstable to start with. 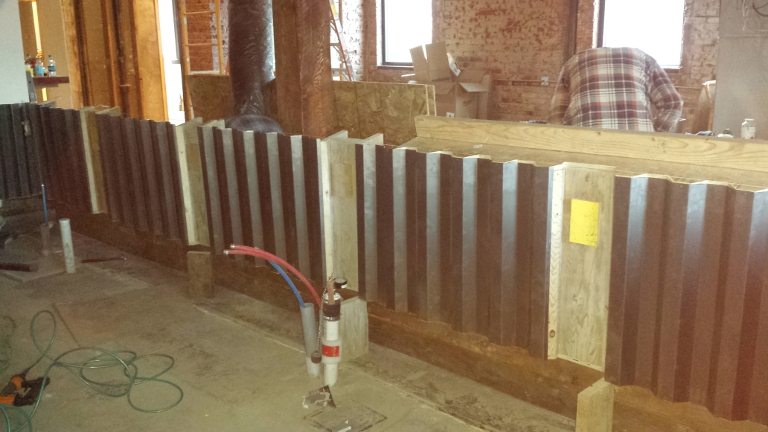 Alignment of the front from line 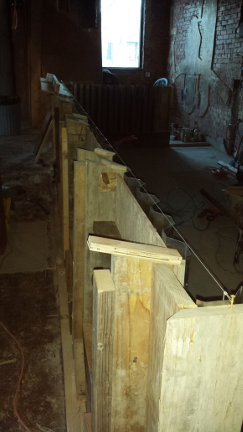 layout of the sloping underbelly of the bar top, scribing and cutting to mate with the formed steel. 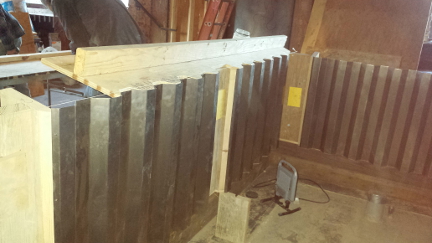 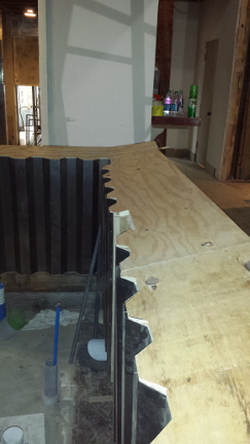 Turning the corner of the underside of the bar top, this surface is where the 10mm RGB LED sockets will mount from the previous blog: up-cycled Trex... Adding Block outs for the outlets on the patrons side of the bar. 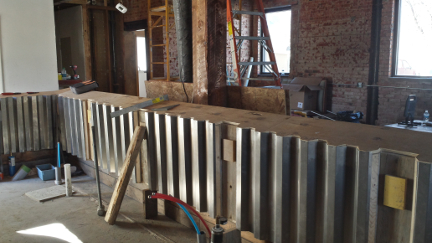 Installation of the electrical conduit, patrons side 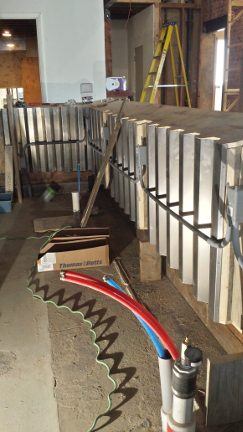 First row of rebar tied in place 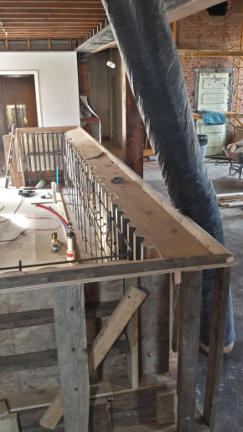 completion of the first row of rebar  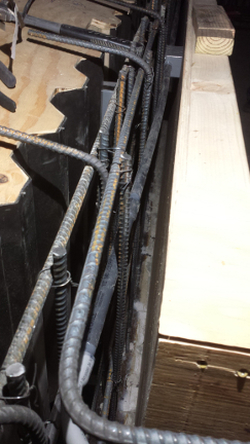 Second row of rebar, inside form Tenders side.... with the rebar turning towards the patrons side Stead fast assistant on the N3 Project M$M mark tie-ing the 6X6 mesh along the top of rebar 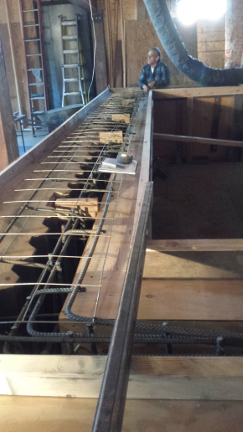 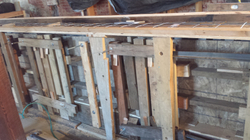 The combination of the formed steel sections, and board formed columns, the front face of the form couldn't use conventional whalers. A chance to use the small pieces of lumber we have been saving for the entire job just for this purpose. Also as opposed to conventional form ties, the varying width of the form we opted to use 3/8" all-thread This wedge shaped block was made as opposed to machining an angle on the Trex block. (bad planning on my part). The under-side of the bar top has a 12 degree angle. In order to have the light emitting towards the lower face of the bar the angle on the block has to be 12 deg (to make the light point straight down) + 10 more degrees to direct the light on the face. the 22 degree face has a pocket to locate and keep the Trex block from moving as the concrete is placed in the form.  The Block will mount in the milled pocket in the wedge block. Note: the hole where the LED will mount is pointing down. as the lower bar surface is the steel surface in this image. 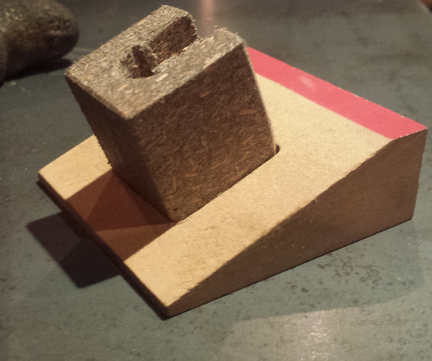
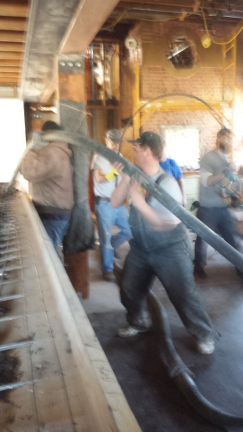
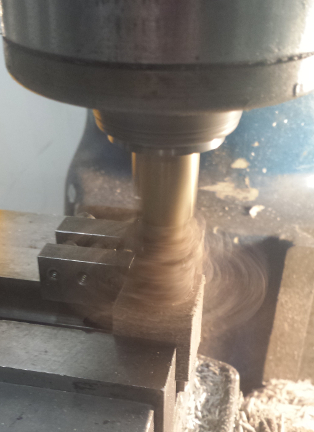
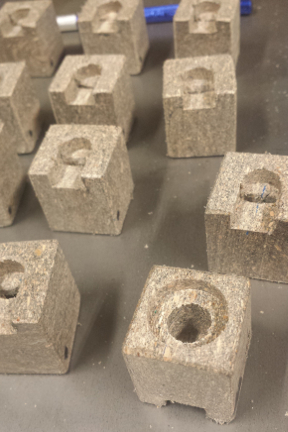
Vibrating the concrete as it is placed is most important to remove air pockets, and infill the details of the forms  Sreed the concrete with a ROD to start the process of producing as flat a surface as possible 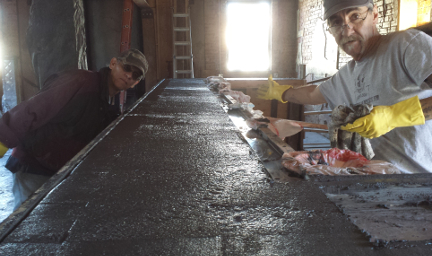 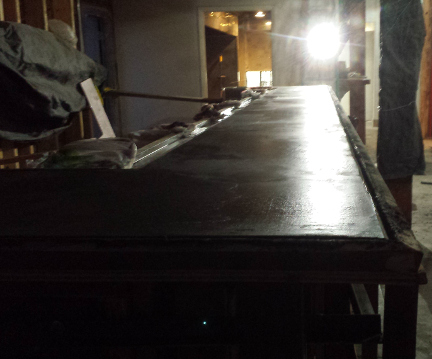  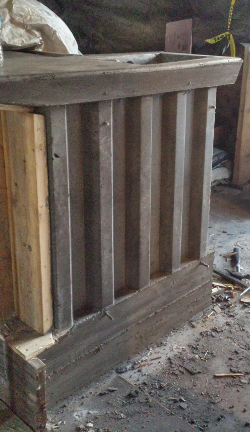 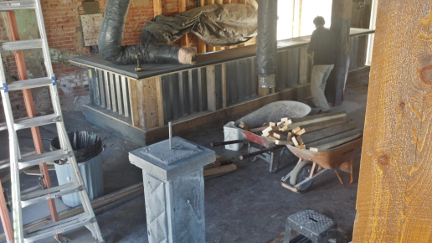 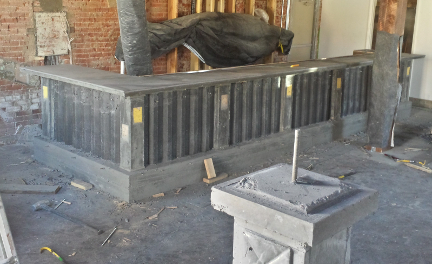 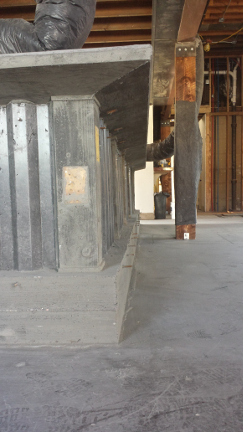 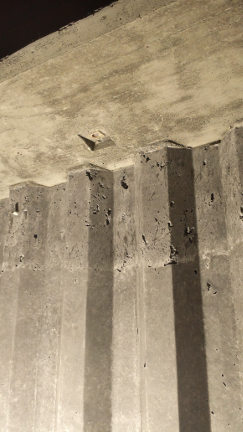 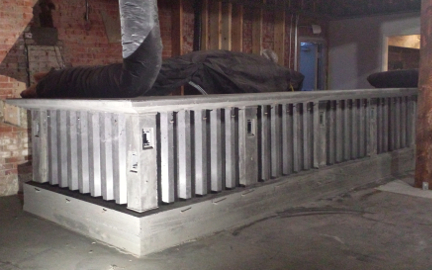 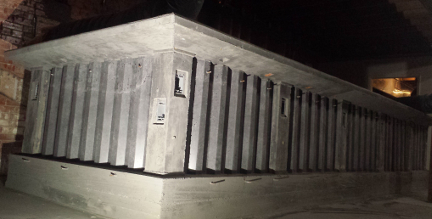 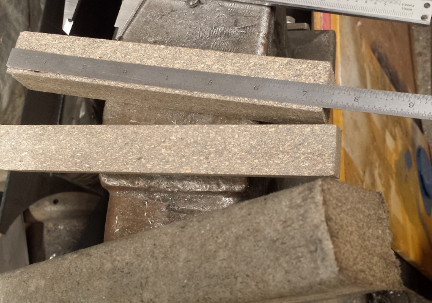 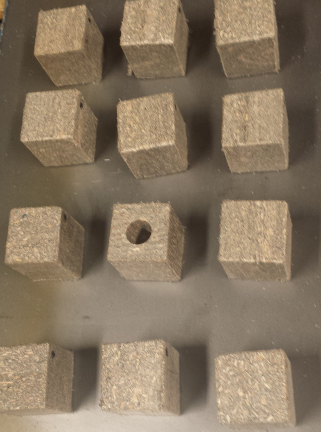 I have been machining non conductive parts from Trex for years. It is fairly solid, and fine for parts where rigid forms are not important. Plus these remind me of Tofu chunks. 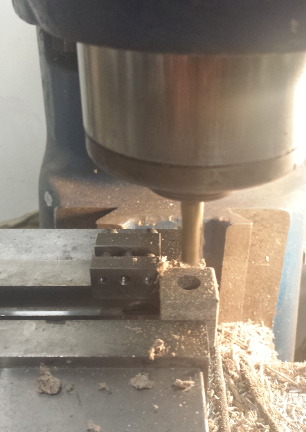 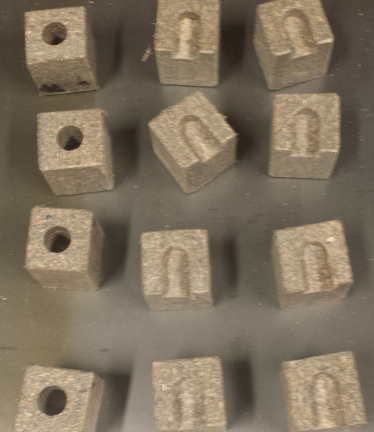 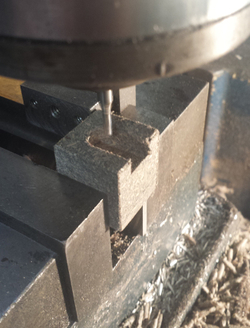 milling the .125" slot (with an endmill) through the center connecting the bottom slot with the bored hole from he top bottom right block the pins are visible from the bottom. these will lead the the control circuit and Arduino clone. 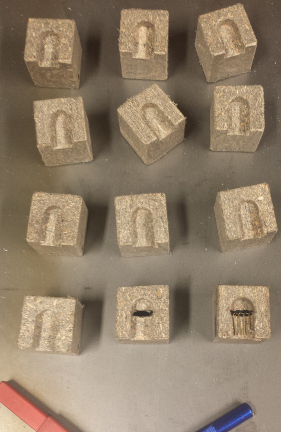
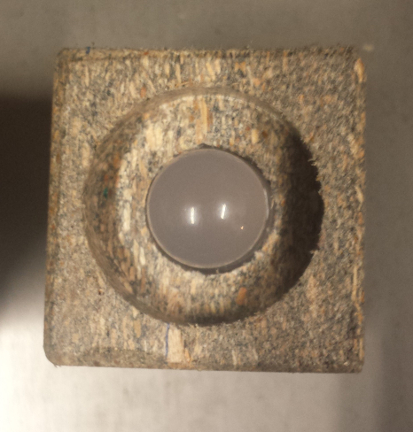
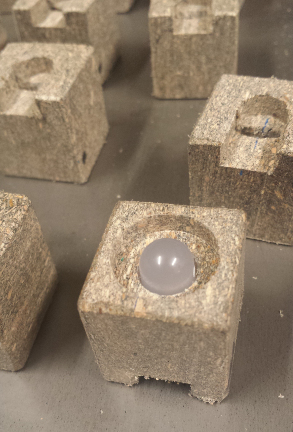
10mm RGB LED, and the socket visible within the bored hole lower 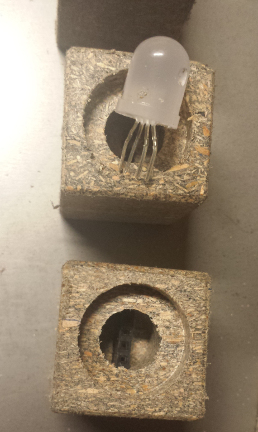
Ardunio clone used to control the RGB LED (12 of which will accent the concrete bar) test circuit show 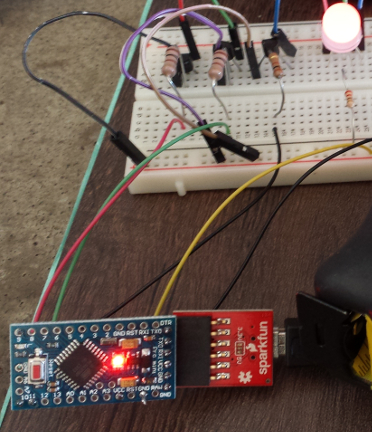 CAD file for the LED socket 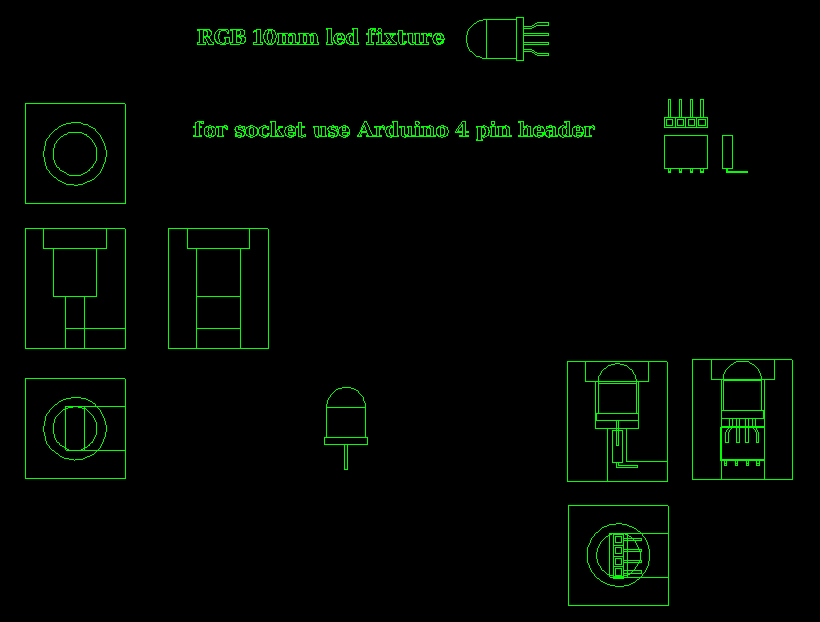 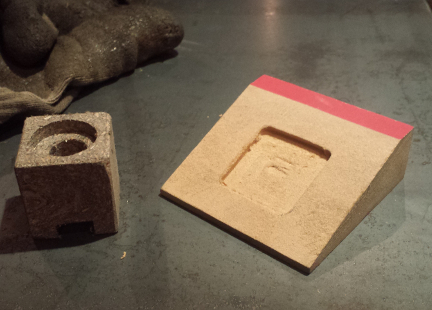  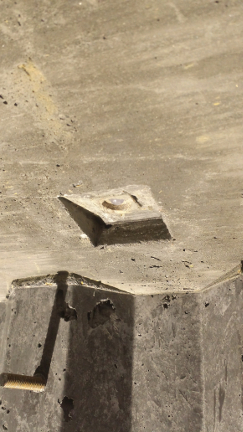  more to follow..... see the concrete bar post...
|
Daniel RomanoArtist/Designer/Sculptor Archives
September 2022
CategoriesCopyright © 2022
All Rights Reserved ROMANODANIEL |
 RSS Feed
